A practical guide to identifying causes and taking the right corrective actions.
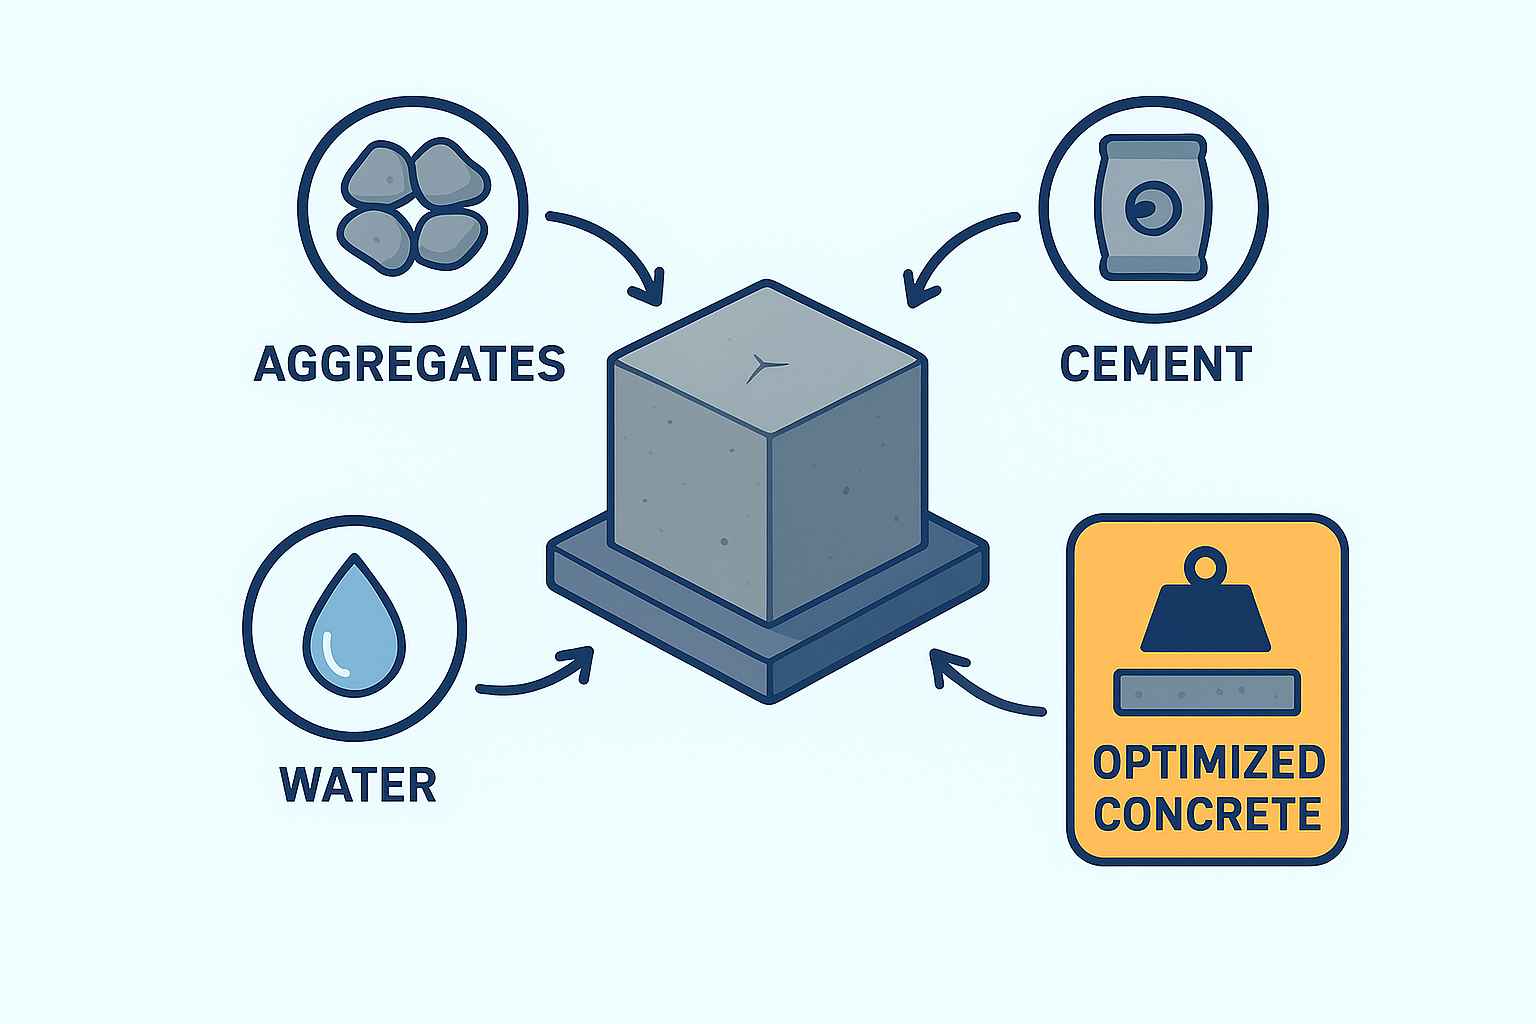
Concrete cube testing is one of the most important quality control activity in any construction project. It provides a direct measure of whether the concrete delivered and placed on site meets the required strength as per the design and contract specifications. However, when a concrete cube failure happens means results fail to achieve the targeted compressive strength, it raises immediate concerns regarding structural safety, workmanship, material quality, and compliance with standards.
A failed cube does not always mean the structure is unsafe—but it does demand a systematic investigation to identify the cause, verify the actual in-situ concrete strength, and determine the right corrective actions. Understanding the proper steps to follow when a concrete cube fails is essential for engineers, QA/QC teams, project managers, and consultants to ensure safety, accountability, and smooth project progress.
This blog explains the procedures to follow after a cube failure, including verification, testing methods, structural assessment, documentation, and preventive measures. This systematic approach will not only help in closing NCRs efficiently but also strengthen overall quality control practices at site.
1. Verify the Cube Test Results
- Confirm the cube identification, casting date, curing method, and testing age (7 or 28 days).
- Check whether the testing machine was calibrated.
- Recheck testing procedure and make sure the load was applied correctly.
2. Review Sampling & Casting Procedures
- Ensure cubes were taken from the correct location.
- Verify the number of samples and frequency as per IS 516 / IS 456 / project specs.
- Check casting quality, compaction, and curing records of the failed batch.
3. Evaluate Site Records
Review concrete delivery challans / batching plant records:
- Mix design
- Water–cement ratio
- Admixture dosage
- Slump results
- Transit time
- Temperature at the time of pouring
- Confirm if any deviations occurred.
4. Conduct Non-Destructive Tests (NDT)
Perform tests on the affected structural element:
Rebound Hammer Test

The rebound hammer test is a non-destructive method used to assess the surface hardness of concrete quickly. The hammer impacts the surface, and the rebound reading correlates with approximate compressive strength. Although it does not provide an exact strength reading, it helps identify weaker zones and determine whether core testing is necessary.
Ultrasonic Pulse Velocity (UPV)
UPV measures the quality, density, and uniformity of concrete by transmitting ultrasonic pulses through the structure. The travel time of the wave indicates concrete quality—higher velocities typically mean good-quality, dense concrete. UPV is used to detect internal defects such as voids, cracks, honeycombing, and segregation.

NDT indicates general concrete quality.
5. Perform Core Cutting & Core Testing
If NDT indicates doubtful concrete quality:

- Core Location Marking
- Extract core samples from identified locations.
- Test cores as per IS 516 / IS 1199.
- Compare results with acceptance criteria (usually 85% of characteristic strength).
6. Structural Assessment
If core results also fail to meet the required strength:
- Request a structural designer to check structural adequacy.
- Perform load calculations and safety analysis for the actual achieved strength.
- Identify whether strengthening or partial removal is required.
7. Decide on Corrective Measures
Based on the designer’s recommendation:
If strength is marginally low:
- Epoxy grouting
- Micro-concrete jacketing
- FRP wrapping
- Additional supports
If strength is critically low / unsafe:
- Demolition & re-casting of affected section
- Replace defective concrete
8. Identify Root Cause
Conduct a failure investigation by reviewing:
- Batch plant operations
- Material quality
- Mixing proportions
- Workmanship
- Placement and compaction practices
- Curing effectiveness
- Record all observations.
9. Implement Preventive Measures
Improve supervision during concreting.
- Strengthen checkpoints in ITP.
- Ensure slump testing for every truck.
- Regulate water addition at site.
- Calibrate testing equipment.
- Enhance curing practices.
10. Document Everything
- Prepare and submit:
- Failure report
- Root cause analysis (RCA)
- Corrective & preventive action (CAPA)
- Method statement / NCR closure documents
Concrete cube failure is not merely a test result—it is a signal that the concrete used in a structural element needs careful evaluation. By following a systematic approach that includes verification of records, non-destructive testing, core sampling, and structural assessment, engineers can accurately determine the actual condition of the concrete and ensure safety without unnecessary demolition or delays.
A well-documented investigation, combined with corrective and preventive actions, not only restores confidence in the structure but also strengthens the overall quality culture at site. When handled professionally, cube failures become opportunities to improve processes, enhance supervision, and refine construction practices for future works.
Understanding and applying the right steps at the right time ensures structural reliability, client satisfaction, and compliance with standards—making quality control a proactive, not reactive, part of every project.
Click here to download Concrete Sampling Procedure